Welcome to part 2 of installing, configuring, deploying, and capturing images with MDT. In Part 1 we walked step-by-step through installing the ADK, MDT 2013 and getting MDT ready to deploy our first image. This will be another long, drawn out post so please, bare with me.
Now that you have MDT configured, we need to first create a reference image. This guide will show you how you can create a single reference image that gets deployed to all of your PCs regardless of the model. To do this, we need to have Hyper-V manager installed. Creating a reference image in Hyper-V makes updating the image in the future much easier than using a dedicated PC because you will have activation re-arm issues if you sysprep too many times. You can simply revert to a snapshot that was done before sysprepping/capturing, update the image, snapshot it again, and then sysprep/capture it again. We will create a basic Hyper-V virtual machine that we can deploy our base operating system to, configure it, snapshot it, sysprep it, and then capture it back into MDT. We’ll then import it as a custom Windows Image file and create a new task sequence for deploying this “golden” image to a standalone PC.
Installing Hyper-V and booting into LiteTouchPE
First things first, we need to install Hyper-V manager on your Host PC. If you’re using Windows 7 on your host PC, here’s a quick little guide on installing Hyper-V manager. For Server 2008 R2/Server 2012 R2, this guide should be almost the same for both. Once you get Hyper-V installed, you can create a generic virtual machine with minimal specs (1GB RAM, 20-40GB Hard drive space, etc). After you’ve selected memory size, hard drive size and location, select the option to “Install an operating system from a bootable CD/DVD-ROM.” Select “Image file” and point it to your LiteTouchPE_x64.iso in “C:\DeploymentShare\Boot”. Now once you start your virtual machine, it will boot into LiteTouchPE.
Applying a base operating system image
Once LiteTouchPE boots, you’ll greeted with the Deployment Wizard.

For your reference image, you should avoid joining it to your domain. Instead pick a Workgroup name for now and click Next

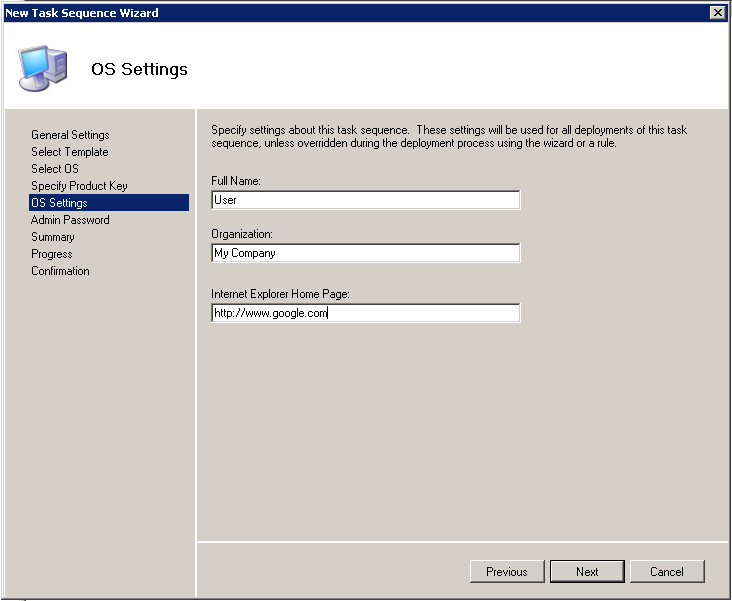
Then click Begin.

It will begin by formatting the drive, injecting drivers, and then finally copying the image.


It will eventually boot into the OS and continue.


Eventually, it should present you with a “Completed successfully” screen.

Customizing your reference image
From here, there is a lot you can do to configure your reference image. For this guide, I will only make a couple small changes. I’ll remove some pinned apps from the Windows 10 Start menu, add the “This PC” icon to the desktop, and change the search box to an icon on the taskbar.

Once you’ve made your changes, I usually restart once for good measure. Once restarted we are going to take a snapshot in Hyper-V before moving onto the sysprep and capture phase. This way in a month or so, we can revert to this snapshot, run the latest Windows updates, then create a new snapshot, and sysprep and capture again.
In the Hyper-V Manager window, go up to Action and click on “Checkpoint…”, for the name I usually do “today’s date-Pre-Sysprep” (ie. 040816-PreSysprep) and then click Yes to rename it.
Creating a sysprep and capture task sequence
Before we can capture an image, we have to create a Sysprep and Capture Task Sequence in MDT. Back at your Host PC, open the Deployment Workbench again, right-click on Task Sequences and select “New Task Sequence”. For the ID, I put in CAP001 and named it “Capture Windows 10 Pro”. Click Next.

From the dropdown, select “Sysprep and Capture”. Click Next.

Pick your operating system. Click Next

Just like before, you can enter a Product Key, but for now I’ll not enter one.

These settings mean very little so enter what you want here.
Again, the admin password means little here so enter what you want or don’t specify one at this time. Click Next and then Finish.

We now have a Sysprep and Capture task sequence ready to use.
You’ll need to add the below section into your deployment share Rules. Right-click on your deployment share and select Properties. Then click the Rules tab.
|
1 2 3 4 |
[CAP001] SkipCapture=NO ComputerBackupLocation=\\MDTAdmin-PC\DeploymentShare$\Captures FinishAction=SHUTDOWN |

Sysprepping and capturing your reference image
Now back to your reference image VM, open Windows Explorer and in the address bar, type in the path to your deployment share. In my case, the path is \\MDTAdmin-PC\DeploymentShare$

Open the Scripts folder, and then double-click on the “BDDAutorun.wsf” file.

You’ll see the same Deployment Wizard screen again, but this time you’ll see your Sysprep and Capture task sequence. Select your Capture task sequence and click Next.

You’ll now have the option to Sysprep and Capture your reference image and copy it to the deployment share. The location is already populated because we specified it in the Rules section in MDT. I recommend giving it a name that is somewhat descriptive so you’ll know what you’re working with once you’re back at your Host PC. So something like “Win10-041116.wim”. Then click Next. And then click Begin. Once you click Begin, don’t touch it. Just let it run through the process, otherwise, you will need to revert to your snapshot if things go badly.

The task sequence will then run Sysprep and prepare the image to boot into LiteTouchPE to capture the image back to the deployment share.


This process can take some time depending on how fast your hardware and network is. Once that’s done, and we click Finish, the VM will shut down since that is what we put in for our “FinishAction” in the Rules section in MDT for that particular task sequence. We’re basically done with our Reference Image VM now. In the future, when it’s time to update your image, just revert to the snapshot you took in Hyper-V and turn on the VM. Update it, then run the BDD_Autorun.wsf wizard again to capture your new image.
This will conclude Part 2 of this series. Part 3 will focus on importing our newly captured reference image, setting up driver folders, and creating a new task sequence to deploy our reference image.
Part 3 —>